Remix
Remix an AI image or uploaded photo with a new prompt. Compare Auto and manual image strength, see how the source prompt is used, and fix common errors.On this page
Remix makes variations of an image you already have. Your prompt says what should change, and the source image holds the layout, subject and colors in place. Use it when you like an image but want a new take on it, such as a different style or setting.
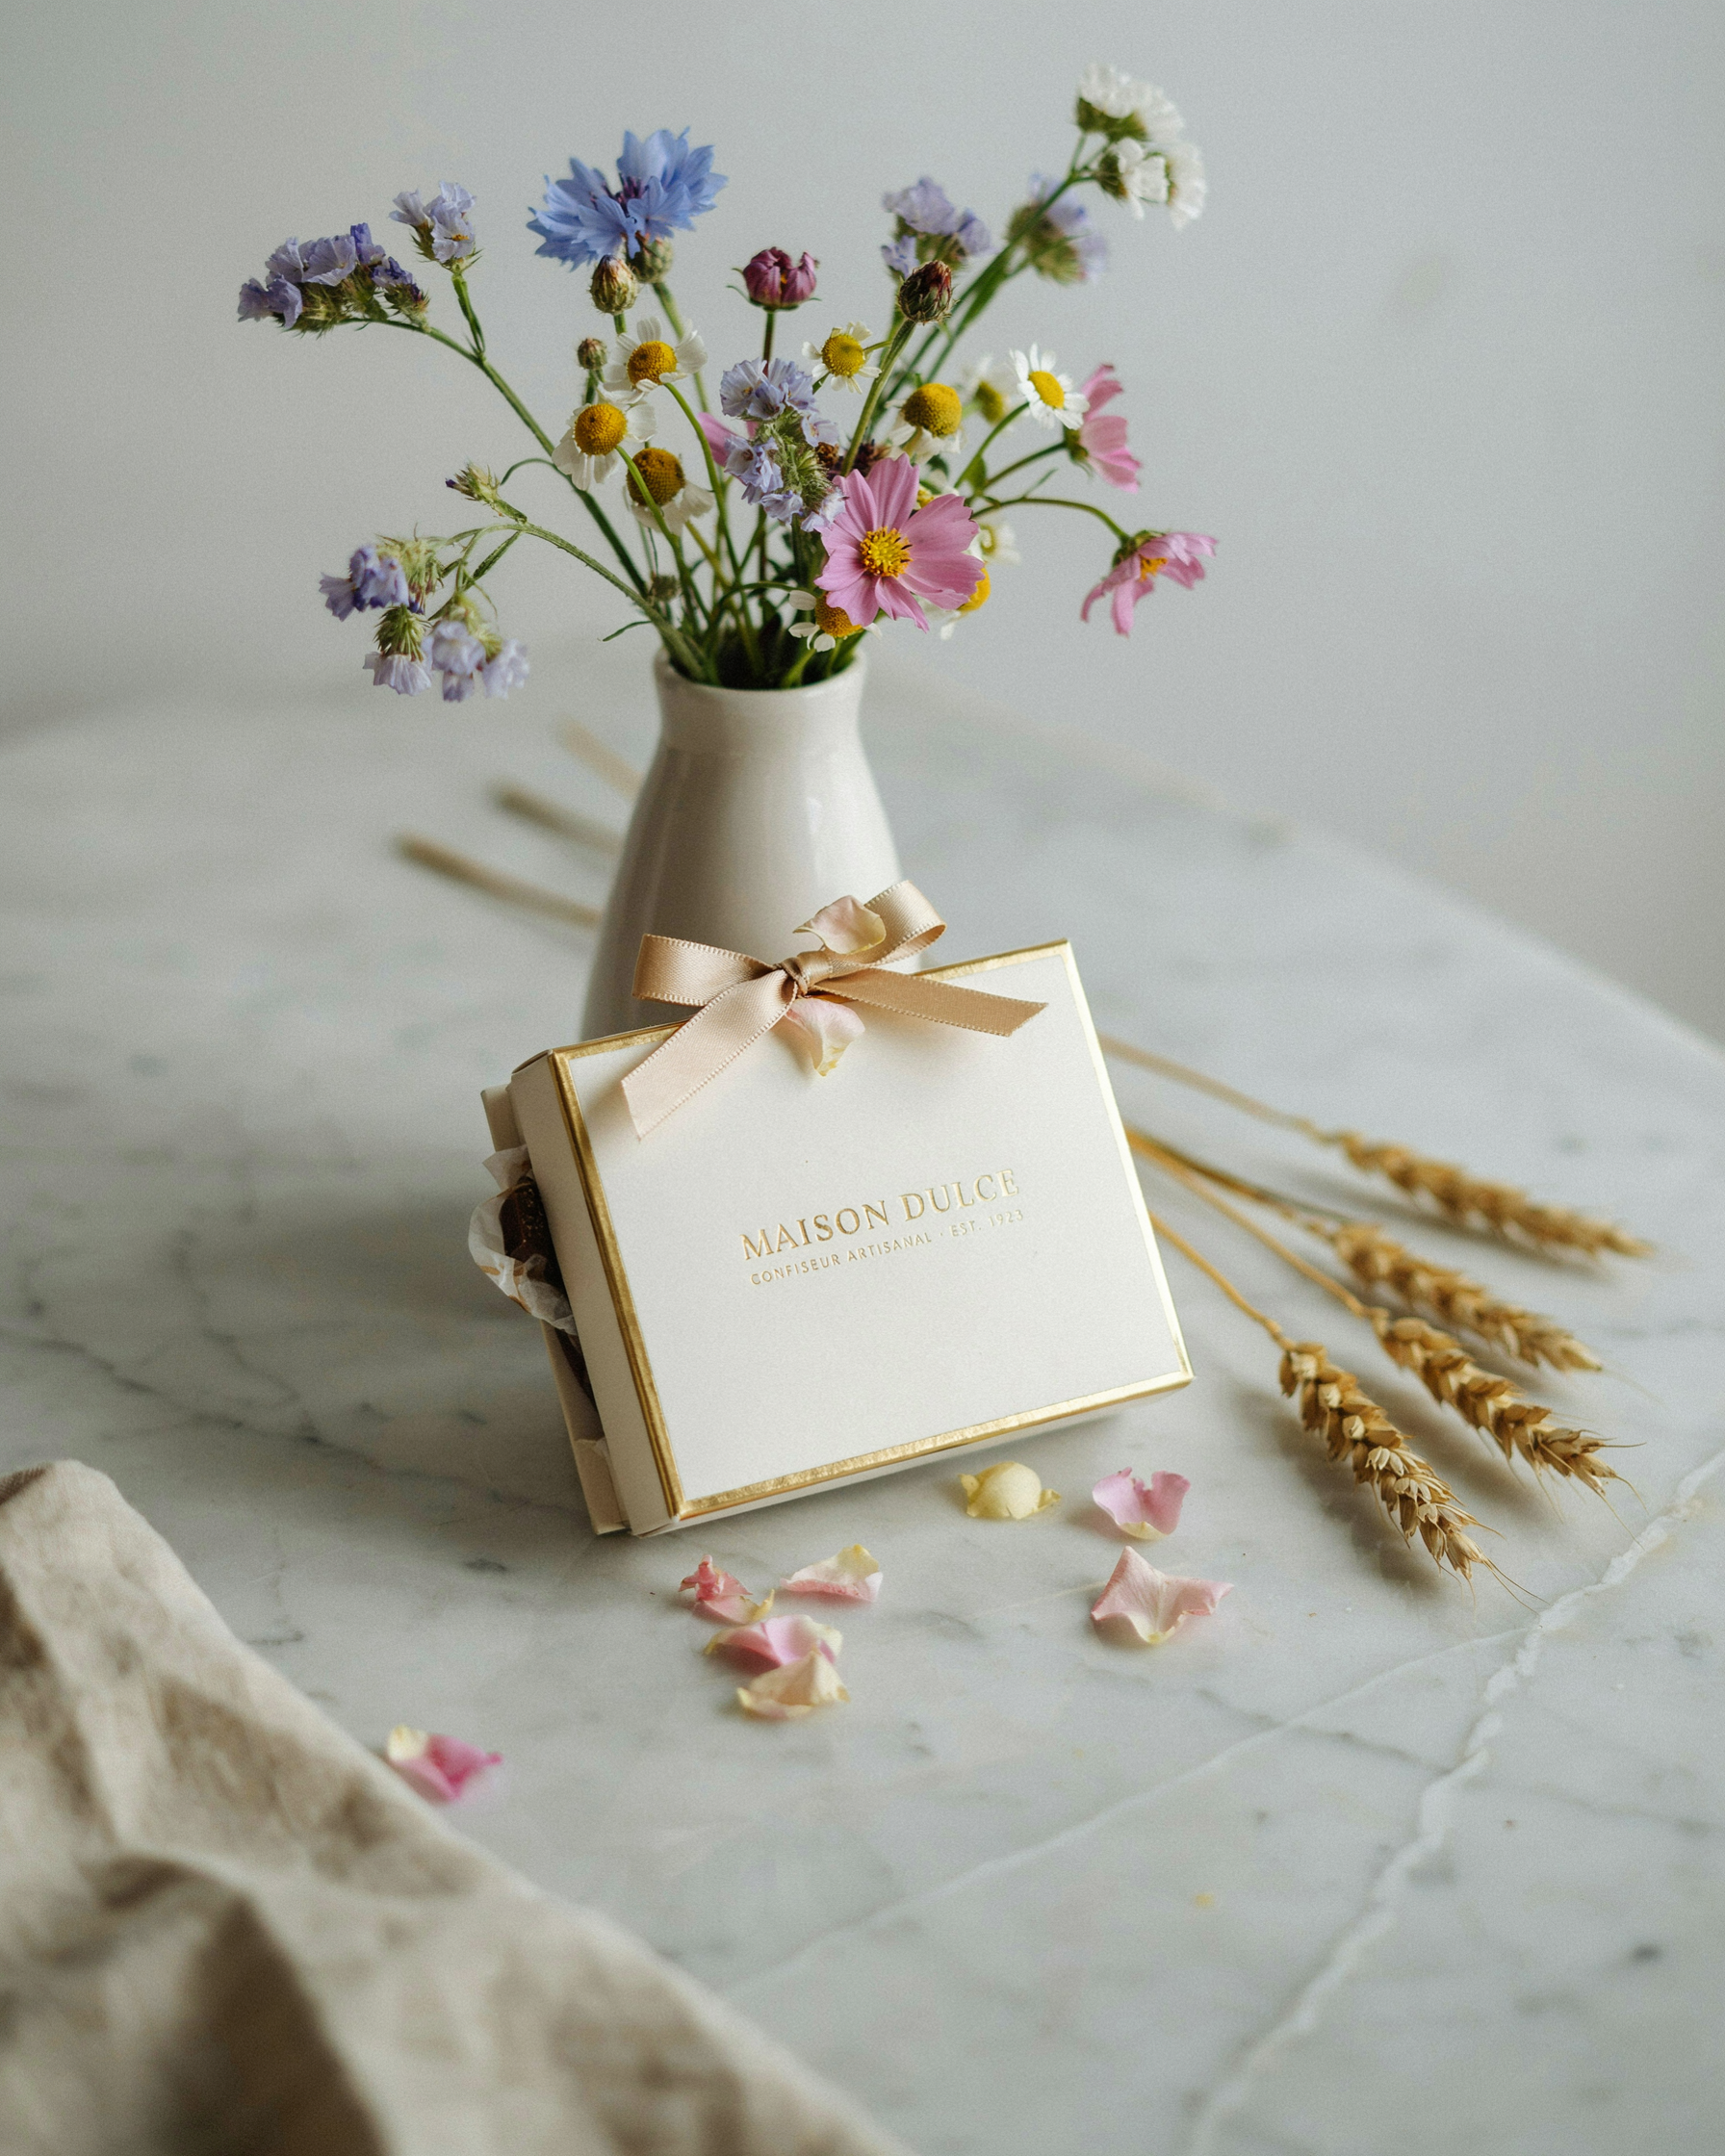
Source image.

Remixed image.
You can remix in two places:
| Setting | Remix app | Remix in Studio |
|---|---|---|
| Plan | Any plan (6 credits per image) | Paid plan |
| Images per run | 1 to 8 (default 4) | 1 to 4 on the canvas, 1 on a layer |
| Model choice | Auto, Ideogram 4.0 or Ideogram 3.0 | Set by Studio |
| Result | New images in Assets | A new version, or the layer changes in place |
The Remix app
Open it
- On an image page, open More options and choose Remix under Use.
- Right-click an image, or open its … menu in the Library's Generations or Uploads tab, and choose Remix.
- Open Apps and search for Remix.
Settings
- Model: Auto, Ideogram 4.0 or Ideogram 3.0. Auto is the default and picks for you.
- Source image: the one image you remix.
- Prompt: describe the result you want, up to 10,000 characters. With Ideogram 3.0, selecting a source fills this from its Magic Prompt when available, otherwise its original prompt. Uploads without a prompt start empty. With Auto or Ideogram 4.0, write your prompt or use Describe to draft one from the source image.
- Strength: Auto is on by default. Turn it off to show a slider from 1 to 100 (default 50). "Higher strength keeps more of your source image."
- Number of images: 1 to 8, default 4.
- Render speed (Ideogram 3.0 only, under Advanced): Default on paid plans, Turbo on the free plan.
Choose the source and model before you polish the prompt. When Ideogram 3.0 loads a different source, its prompt replaces the current text; check it again after changing the image.
Run it
Add a source image
Under Source image, click + Add to upload a picture or choose one you already have.
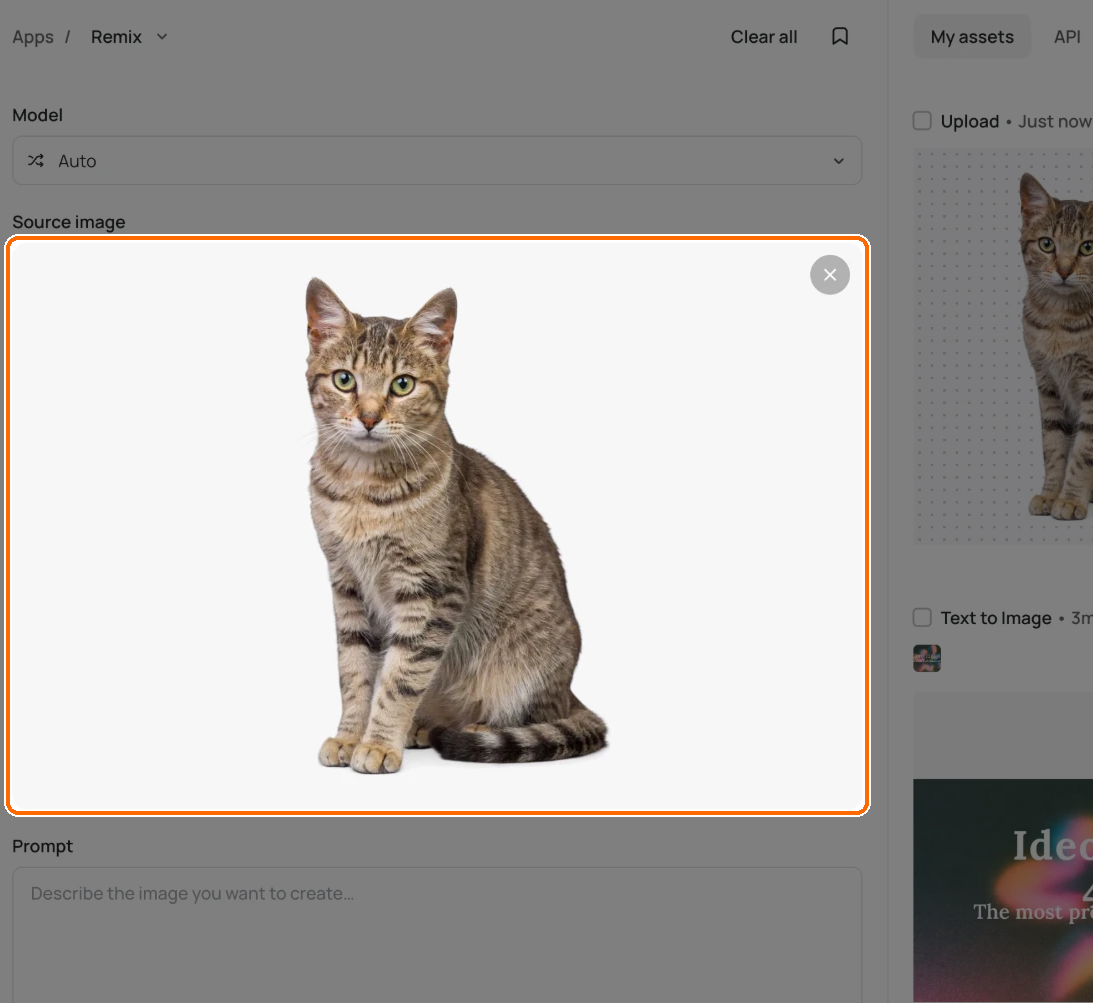
Add the image you want to remix.
Edit the prompt
Edit the Prompt to describe the result you want.
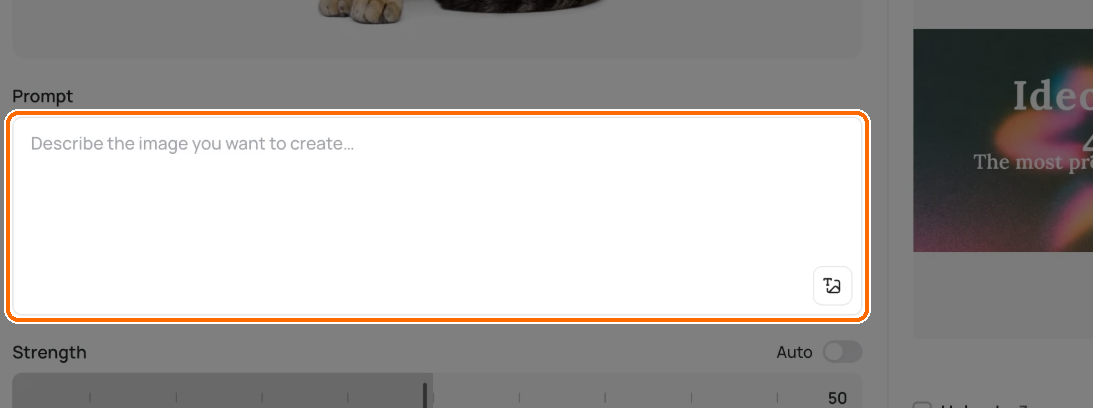
Describe the result you want.
Set the strength
Leave Strength on Auto, or turn Auto off and set the slider.
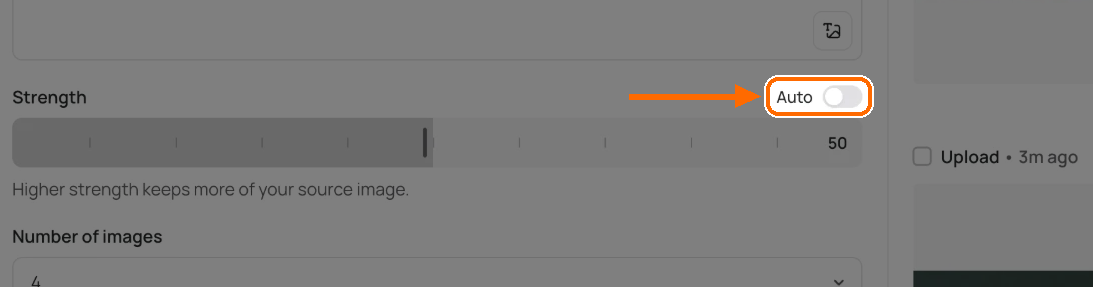
Turn Auto off to set the slider yourself.
Click Remix
Click Remix. The button shows the cost first. See how credits work.

Click Remix to run it.
On Plus, Pro, Team and Enterprise, your remixes stay private until you publish one from its image page. On the free plan and the legacy Basic plan, they're public.
Example: restyle a product photo
Add the product photo, then describe the complete image you want, for example: "A studio photograph of the same ceramic mug on a pale blue table, soft side lighting, simple background." Start with one image per run while you compare settings. Keep the source and prompt fixed when testing Strength, so you can compare that control alone.
If you need one small, bounded change while leaving the surrounding image alone, use a mask in Precise Edit instead of remixing the entire image.
If Remix will not start
- Choose an image to remix: attach one source image; the app accepts one at a time.
- Enter a prompt for your remix: write a prompt or use Describe. A source image alone is not enough.
- Wait for the source image to finish loading: let the preview load before running. If the app says it cannot read the source, remove it and choose it again.
- Use a prompt of 10,000 characters or fewer: shorten the prompt before trying again.
Remix in Studio
Remix inside Studio needs a paid plan. It works on the whole canvas or on one image layer.
Remix the whole canvas
Click an empty spot so nothing is selected.
Choose Remix in the right sidebar.
Write your prompt in "Describe your remix...".
Set Count (1 to 4).
Click Generate.
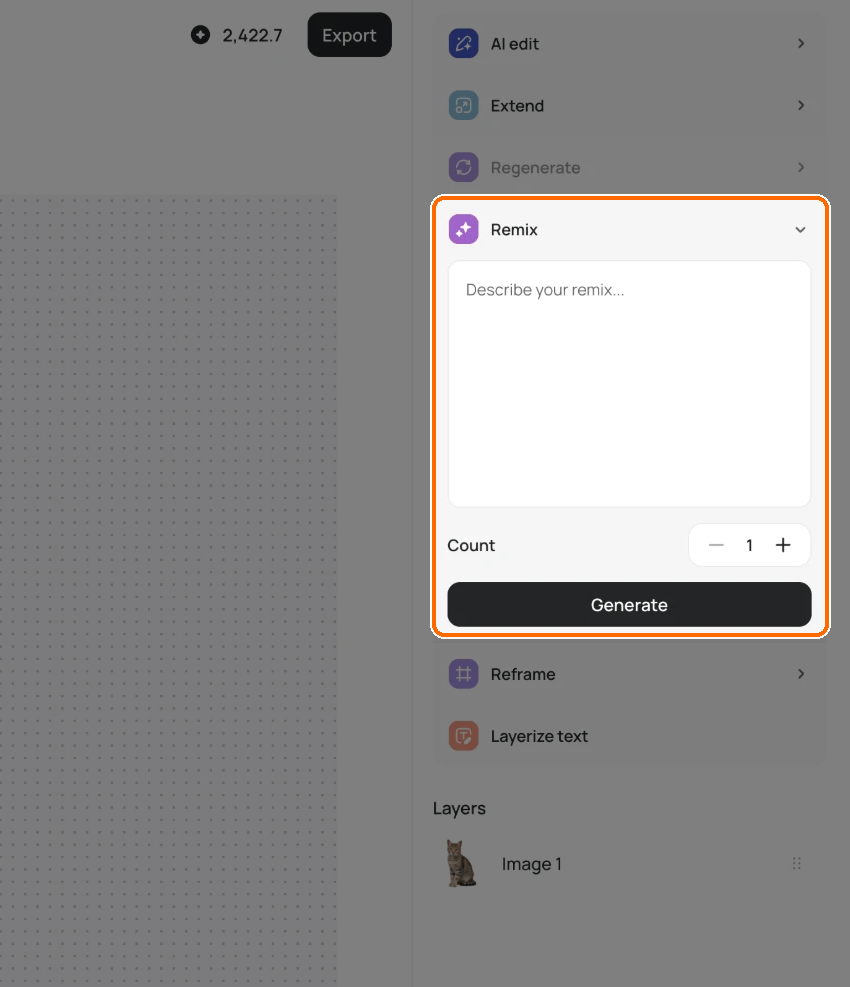
With nothing selected, open Remix, describe the change and click Generate.
Each run adds a new version to the version strip, so your original stays put. A Strength slider (0 to 100, default 50) appears only when Studio isn't using Auto.
Remix one image layer
- Select the layer.
- Choose Remix under Tools.
- Describe the change.
- Click Generate.
You get one result, and it replaces that layer. There is no strength slider on desktop.
Tips on strength
- Start with Auto if you don't need to choose a manual strength.
- Want the result to look close to the source, with small changes in color or detail? Turn Auto off and go above 50.
- Want a bigger change in style or setting, with only the rough layout kept? Go below 50.
- If a high strength ignores your prompt, lower it in steps of 10 to 20 and run again.
- Change one thing at a time in the prompt. You can then tell what the strength did.
In this topic: editing
- Edit Images: choose the right way to edit
- Masks and Inpainting: change only one area
- Studio: combine images, layers and text
- Text and Layers: fix or add lettering
- Remix (this page): make new versions of an image
- Troubleshooting: fix common problems
The remix endpoints take a source image and a prompt, and image_weight sets how closely the result follows the source.