> For the complete documentation index, see [llms.txt](https://docs.ideogram.ai/llms.txt). Markdown versions of documentation pages are available by appending `.md` to page URLs; this page is available as [Markdown](https://docs.ideogram.ai/edit/text-and-layers.md).
# Text and Layers
Add and style text layers in Studio, turn text in an image into editable layers, and arrange layers.
Everything on a Studio canvas is a layer. Image layers hold pictures; text layers hold type you can edit at any time. This page covers both. To open Studio, see [Studio](/edit/studio.md#open-studio).
If you want the text right in the first place, start with the prompt. See [Text in images](/prompting/text-in-images.md).
## Add text
{% stepper %}
{% step %}
### Select Text
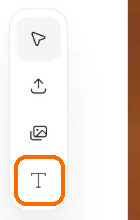
Select **Text** in the left toolbar.
Select Text.
{% endstep %}
{% step %}
### Find the new layer
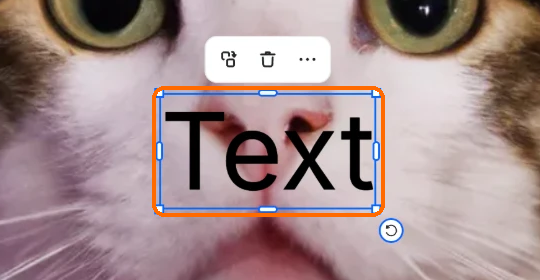
A new layer appears that reads "Text", set in Inter Regular, size 80, black and centered.
The new layer reads "Text".
{% endstep %}
{% step %}
### Type your text
Click the layer to select it, then click again to type.
{% endstep %}
{% endstepper %}
In the Layers list, a text layer shows its own text.
## Style text
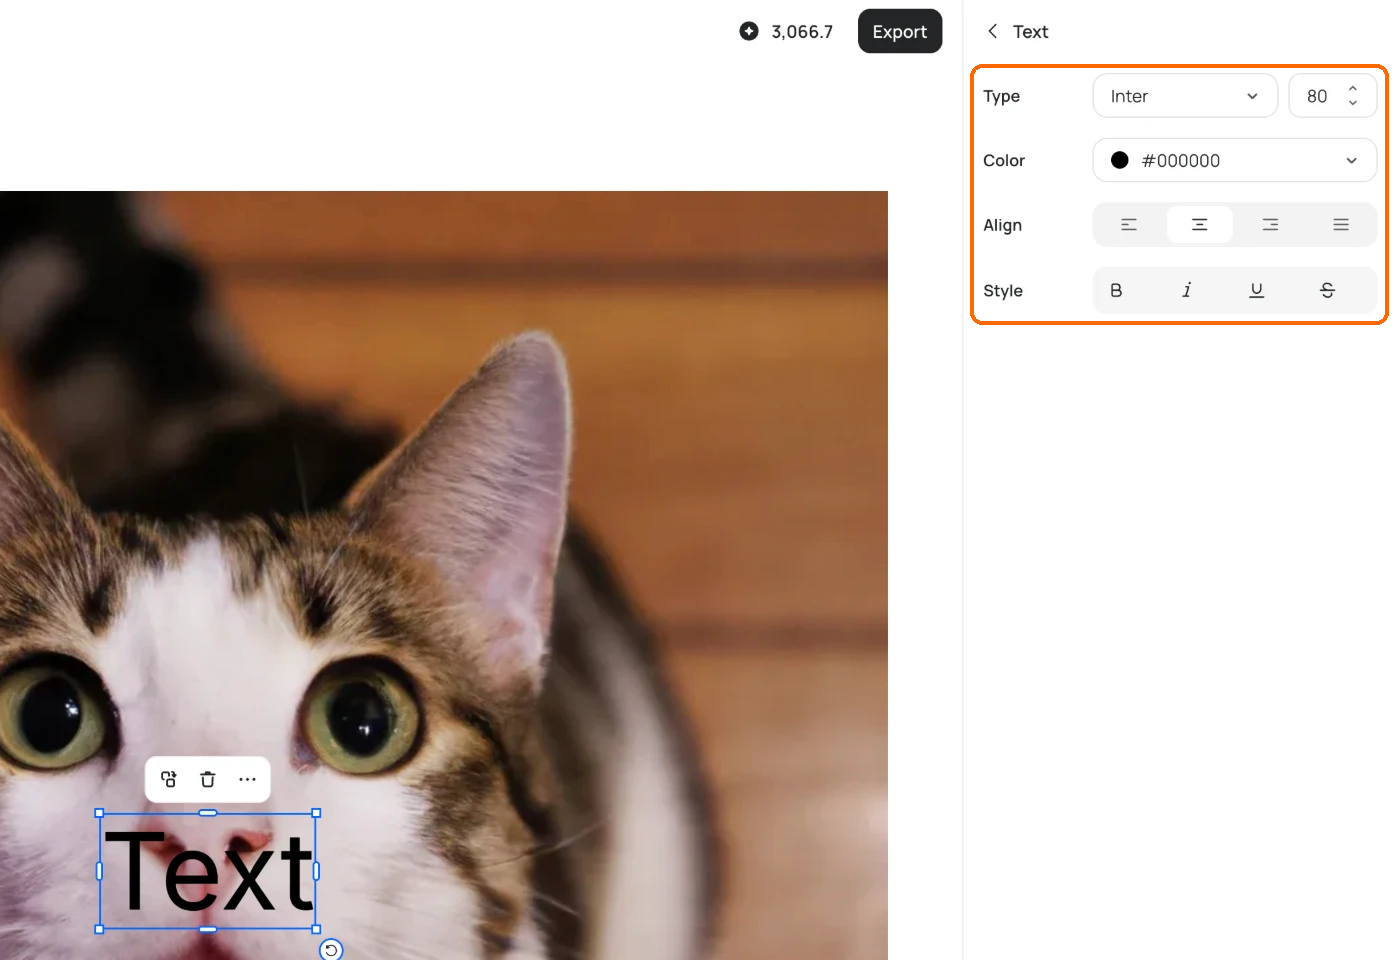
Select a text layer and the right sidebar shows its controls.
Style the selected layer with Type, Color, Align and Style.
* **Type**: font and size. Size runs from 8 to 200.
* **Color**
* **Align**: left, center or right.
* **Style**: bold, italic, underline and strikethrough.
### Fonts
Open the font picker from **Type**. Search with **Search fonts...**, or filter by category: Sans Serif, Serif, Slab Serif, Display Sans, Display Serif, Slab Display, Display, Decorative, Script, Handwriting, Monospace and Symbols.
The fonts come from Ideogram's library. You can't upload your own.
## Layerize text
Layerize text finds the text in an image and rebuilds it as text layers. You can then change the wording, move it or restyle it without generating the image again.
* **On the whole canvas**: with nothing selected, select **Layerize text** in the sidebar. You get a new version with the text as layers.
* **On one image layer**: select the layer, then **Layerize text** in its tools. Studio swaps that layer for the layers it finds.
You need to be signed in. The layers it makes work like any other text layer.
Layerize text is in beta. If it can't read any text, you'll see "No text layers were created". That happens when the image has no text, or the lettering is very stylized, decorative or part of a graphic.
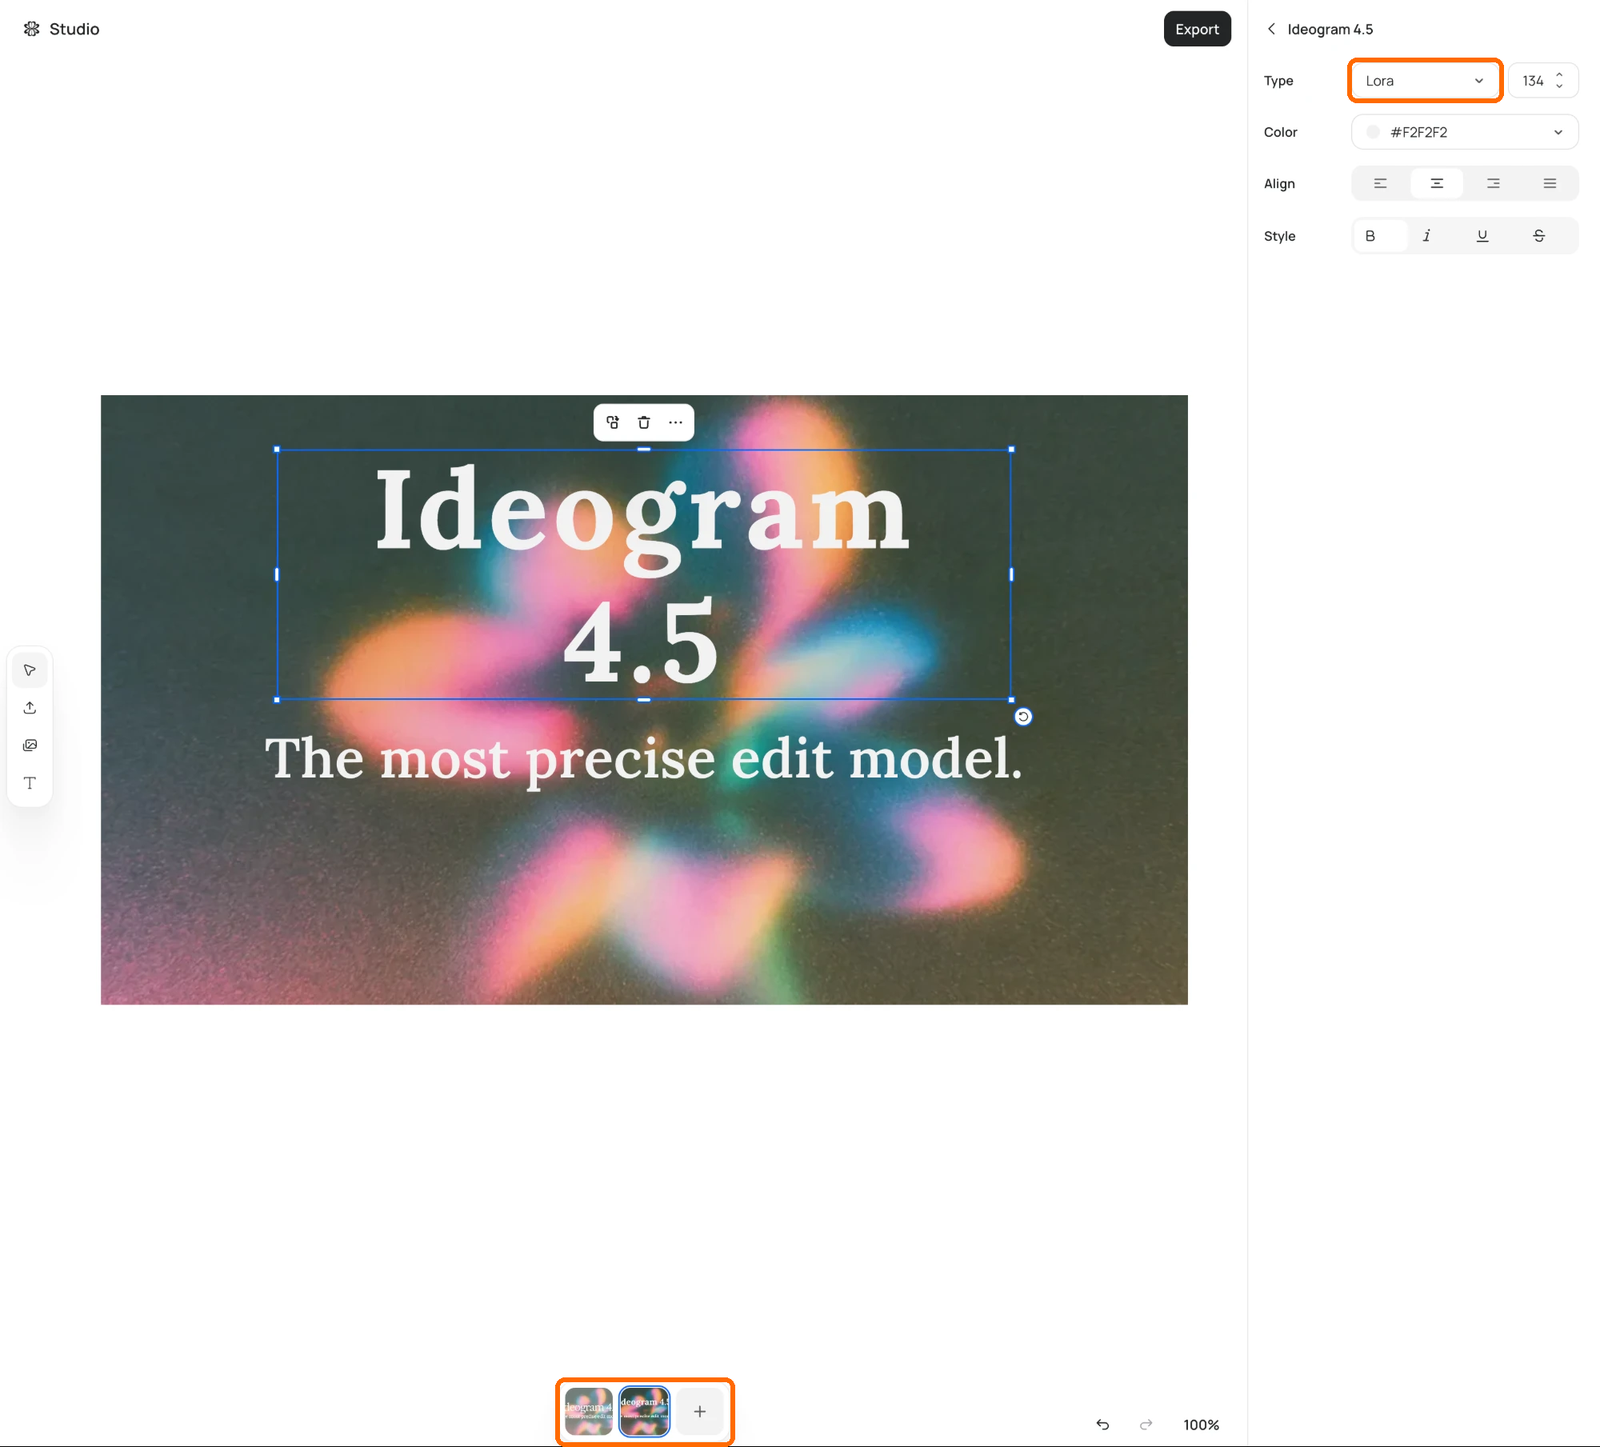
After Layerize text, the headline is an editable layer and a new version joins the strip.
## Work with layers
The **Layers** list sits in the right sidebar when nothing is selected. Image rows show a thumbnail; text rows show a T icon and the text.
* **Reorder**: drag a row up or down. Or use Cmd/Ctrl + ↑ or ↓ to move a layer forward or back one step; add Shift to send it to the front or back.
* **Select more than one**: Shift-click rows. The sidebar then points you to the canvas bar to copy, duplicate or delete the group. Cmd/Ctrl + A selects all.
* **Duplicate**: use the Duplicate icon in the bar over the selected layer.
* **More menu** (in the same bar): **Bring to front**, **Send to back**, **Bring forward**, **Send backward**, **Copy**, **Paste** and **Delete**.
* **Nudge and delete**: arrow keys move a layer; Delete or Backspace removes it. Esc clears the selection.
### Limits
* A canvas needs at least one image layer. If you try to delete the last one, Studio says "Keep at least one image layer". Add another image first.
* Studio has no controls to hide, lock, merge or flatten layers.