> For the complete documentation index, see [llms.txt](https://docs.ideogram.ai/llms.txt). Markdown versions of documentation pages are available by appending `.md` to page URLs; this page is available as [Markdown](https://docs.ideogram.ai/edit/remove-backgrounds-and-objects.md).

# Remove Backgrounds and Objects

Remove an image background for a transparent PNG, erase a selected object, or replace a backdrop. Choose the right tool and recover from selection or availability errors.

This is useful for product photos and ecommerce listings, logos, stickers and profile pictures, or to remove people and other unwanted objects from a photo. Ideogram has two apps for it. The **Background Remover** cuts out the subject and leaves a transparent background. The **Object Remover** takes one thing out of a picture and fills the gap. In [Studio](/edit/studio.md) you can also remove the background from a single layer.

| Task                                 | Where                                                     | Plan                                |
| ------------------------------------ | --------------------------------------------------------- | ----------------------------------- |
| Remove a background                  | Background Remover app, or **Remove BG** on an image page | Credits (the button shows the cost) |
| Remove the background from one layer | Studio                                                    | Credits                             |
| Remove an object                     | Object Remover app                                        | Credits (the button shows the cost) |

Choose **Background Remover** when you want a reusable cutout with transparency. Choose **Object Remover** when the subject should disappear and the surrounding scene should fill the gap. To replace an object with something specific, use a mask and an instruction in [Precise Edit](/edit/masks-and-inpainting.md); Object Remover has no prompt field.

Each app's button shows the cost before you run it. See [how credits work](/plans-and-billing/available-plans.md#how-credits-work).

## Remove a background

### From an image page

1. Open the image.
2. Click **Remove BG**. The Background Remover app opens with the image loaded.
3. Click **Remove background**.

You can also open an image's **…** menu and choose **Background Remover** under **Use**.

### In the Background Remover app

{% stepper %}
{% step %}

### Open the app

Open **Apps** and choose **Background Remover**.
{% endstep %}

{% step %}

### Add a source image

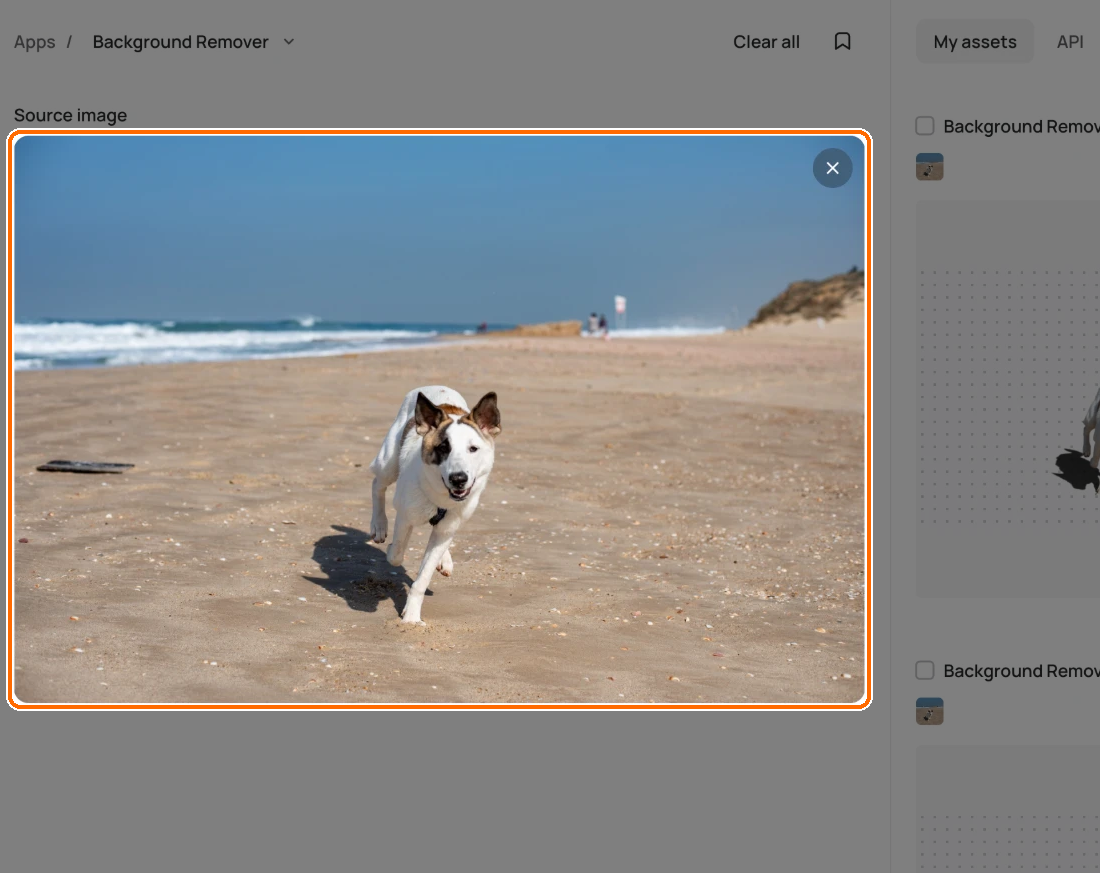
Under **Source image**, click **+ Add** to upload a picture or choose one you already have. "No prompt needed!"

<figure><img src="https://1799634369-files.gitbook.io/~/files/v0/b/gitbook-x-prod.appspot.com/o/spaces%2FzjhNby3LLsIikYuvxAJP%2Fuploads%2Fgit-blob-59fa94a46dc9eeb1522442053d2fb73b071db738%2Fremove-backgrounds-and-objects-1.png?alt=media" alt="Background Remover app with a photo of a dog on a beach in the highlighted Source image box."><figcaption><p>Add the photo you want to cut out.</p></figcaption></figure>
{% endstep %}

{% step %}

### Click Remove background

Click **Remove background**.

<figure><img src="https://1799634369-files.gitbook.io/~/files/v0/b/gitbook-x-prod.appspot.com/o/spaces%2FzjhNby3LLsIikYuvxAJP%2Fuploads%2Fgit-blob-406a28a6b2709b01dc8464ad340633f501b6638f%2Fremove-backgrounds-and-objects-2.png?alt=media" alt="Remove background button, highlighted, showing a cost of 1.00 credit."><figcaption><p>The button shows the cost before you click.</p></figcaption></figure>
{% endstep %}
{% endstepper %}

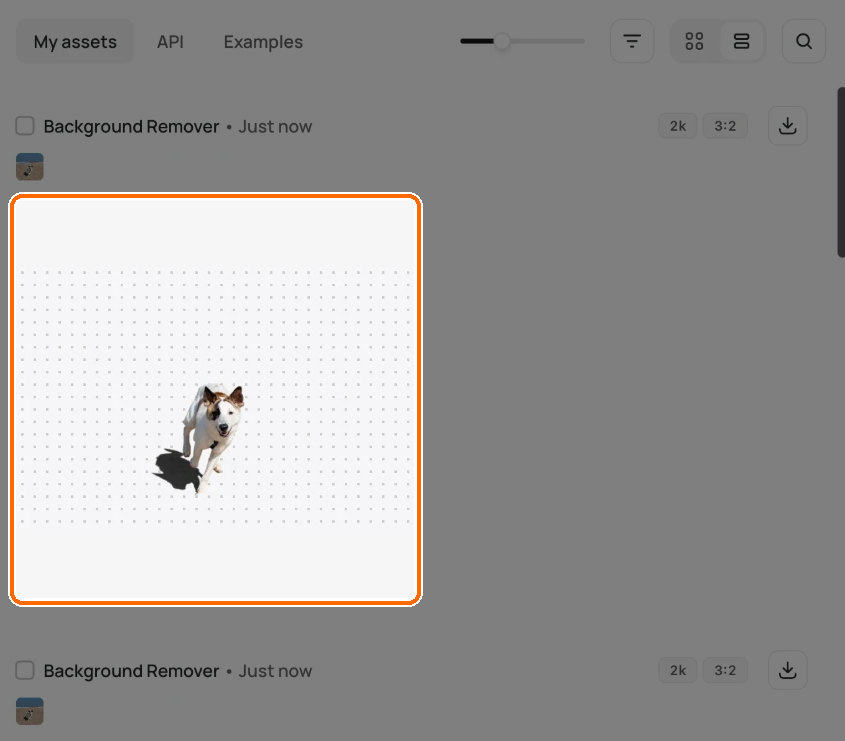
You get a new image with a transparent background. Your original stays as it was. If it fails, you'll see "Could not remove the background. Please try again."

<figure><img src="https://1799634369-files.gitbook.io/~/files/v0/b/gitbook-x-prod.appspot.com/o/spaces%2FzjhNby3LLsIikYuvxAJP%2Fuploads%2Fgit-blob-83089b93a2156fb7c680773317539412580dd14f%2Fremove-backgrounds-and-objects-3.png?alt=media" alt="Background Remover result card, highlighted: the dog cut out on a dotted transparent background."><figcaption><p>The result appears in <strong>Assets</strong> with a transparent background.</p></figcaption></figure>

### On a layer in Studio

1. In Studio, select an image layer.
2. Under **Tools** in the right sidebar, choose **Remove background**.

It runs in one click and changes only that layer. Other layers stay as they are, which makes this the way to cut out one part of a design you have built in layers.

## Keep the transparency when you download

Download a transparent image as PNG or WEBP. JPEG has no transparency, so the Download menu turns it off for these images. A 1K PNG is free on every plan; WEBP and larger sizes need a paid plan.

To make an image with no background from the start, see [Transparent Backgrounds](/create/transparent-backgrounds.md).

## Remove an object

The **Object Remover** app erases one thing you mark, such as a stray cup on a table or a person in the background, and fills the space.

{% stepper %}
{% step %}

### Open the app

Open **Apps** and choose **Object Remover**.
{% endstep %}

{% step %}

### Add a source image

Under **Source image**, click **+ Add** to upload a picture or choose one you already have.
{% endstep %}

{% step %}

### Mark the object

Under **Mask**, mark the object with one of the tools:

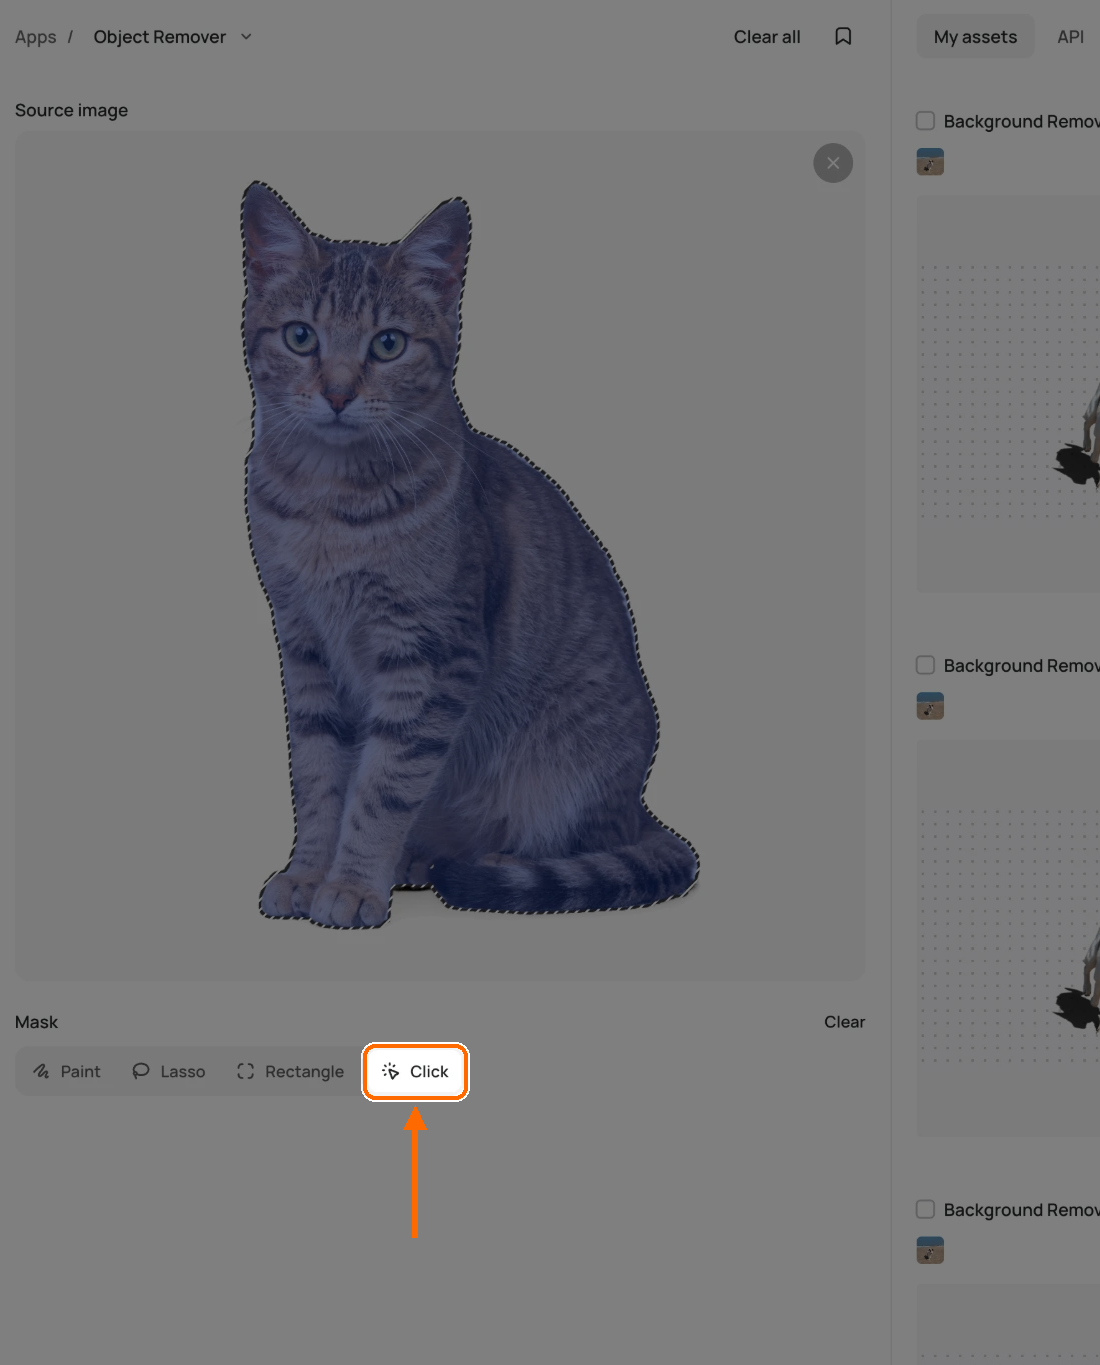
* **Click**: click the object once. Ideogram selects the whole object for you.
* **Paint**: brush over it by hand.
* **Lasso**: draw a loose outline around it.
* **Rectangle**: drag a box over it.

<figure><img src="https://1799634369-files.gitbook.io/~/files/v0/b/gitbook-x-prod.appspot.com/o/spaces%2FzjhNby3LLsIikYuvxAJP%2Fuploads%2Fgit-blob-d42c663f66f72949fb149a62ce39a3f09d01773a%2Fremove-backgrounds-and-objects-4.png?alt=media" alt="Object Remover with a cat selected under a blue mask, and the Click tool highlighted among the Paint, Lasso, Rectangle and Click mask tools."><figcaption><p>With <strong>Click</strong>, one click selects the whole object.</p></figcaption></figure>
{% endstep %}

{% step %}

### Click Remove object

Click **Remove object**. The button shows the cost in credits.

<figure><img src="https://1799634369-files.gitbook.io/~/files/v0/b/gitbook-x-prod.appspot.com/o/spaces%2FzjhNby3LLsIikYuvxAJP%2Fuploads%2Fgit-blob-6d6a8ab663f3a4af1a09ed4cfb674f9b467018a8%2Fremove-backgrounds-and-objects-5.png?alt=media" alt="Remove object button, highlighted, showing a cost of 6.00 credits."><figcaption><p>Click <strong>Remove object</strong> to erase what you marked.</p></figcaption></figure>
{% endstep %}
{% endstepper %}

The result appears in **Assets** as a new image. Your original stays as it was.

**Clear** next to **Mask** starts over.

If you click a spot with no clear object, you'll see "Could not find an object there. Try another spot." Wait for a click selection to finish before you click **Remove object**.

### If an object is not selected or removal is unavailable

The source image and the selection are separate requirements. If the app says **Select the object you want to remove**, use **Click**, **Paint**, **Lasso** or **Rectangle** to create a mask. If a click cannot find the object, try another spot or mark it manually with Paint or an outline tool.

Wait for **Wait for the selection to finish processing** to clear before running; the app cannot use a selection that is still being prepared. **Clear** removes the selection so you can mark it again without replacing the source photo.

If you see **Object removal is not available yet**, use another available editing app, such as Precise Edit with a mask and an instruction to remove the object. This availability message is different from a missing or unfinished selection.

## Put a subject on a new background

If **Background Swap** appears in your Apps catalog, you can use it to place people from a photo into a new setting:

1. Open **Background Swap**.
2. Add the original image under **Photo**.
3. Under **New background**, add a photo of the place where the people should appear. People in the background photo are left out.
4. Choose **Number of images** (1 to 4, default 2).
5. Check the cost on the run button, then generate.

Background Swap needs a paid plan or bought credits. App availability can vary by account and workspace.

You can also use Studio to layer a cutout on a new image, including product cutouts:

1. Remove the background from your subject (see above). The cutout saves to **Assets**.
2. In the sidebar's **More** section, select **Studio**.
3. Click **Upload image** and choose the new background.
4. Click **My Images** in the left toolbar and add your cutout. It lands as a new layer on top.
5. Drag the cutout into place.
6. Resize the cutout.
7. To change the stacking, open the layer's **More** menu and choose **Bring to front** or **Send to back**.
8. Click **Export** to download the result.

You can also try **AI edit** in Studio and describe the new background in your prompt. See [Studio](/edit/studio.md).