> For the complete documentation index, see [llms.txt](https://docs.ideogram.ai/llms.txt). Markdown versions of documentation pages are available by appending `.md` to page URLs; this page is available as [Markdown](https://docs.ideogram.ai/create/transparent-backgrounds.md).
# Transparent Backgrounds
Make transparent PNGs for logos, stickers, t-shirt and print-on-demand designs. Choose a model or background setting, or remove a background, then keep it when you download.
Transparent images are what you need for logos, stickers, t-shirt and print-on-demand designs, icons, clip art and product cutouts. Pick a transparent model, choose a transparent background on Ideogram 4.5 or GPT Image 2.5, or remove the background from an image you already have.
| Way | Best when | Plan |
| ---------------------------- | --------------------------------------------------------------- | --------------------------- |
| Transparent models | You want a cutout from a text prompt, such as a logo or sticker | Free and paid |
| Ideogram 4.5 **Background** | You want a transparent result, with or without reference images | Free and paid |
| GPT Image 2.5 **Background** | You also need reference images | Paid plan or bought credits |
| **Remove BG** afterwards | You already have the image | Free and paid |
Ideogram 4.0 and 3.0 have no transparency setting; choose their Transparent versions instead.
## Transparent models
1. Click **Image** in the sidebar to open the Image app.
2. Open the **Model** picker and choose **Ideogram 4.0 Transparent** or **Ideogram 3.0 Transparent**.
3. Write your prompt, such as `flat vector logo of a fox, orange and white`.
4. Click **Generate**. Results appear in the **Assets** feed.
5. Open a result and download it as **PNG** (see [Download as PNG](#download-as-png)).
| | Ideogram 4.0 Transparent | Ideogram 3.0 Transparent |
| ------------ | ---------------------------------------------------------------------------------------- | -------------------------------------------------------------- |
| Prompt help | **Prompt upsampling**: Auto, On or Off | **Magic Prompt** toggle |
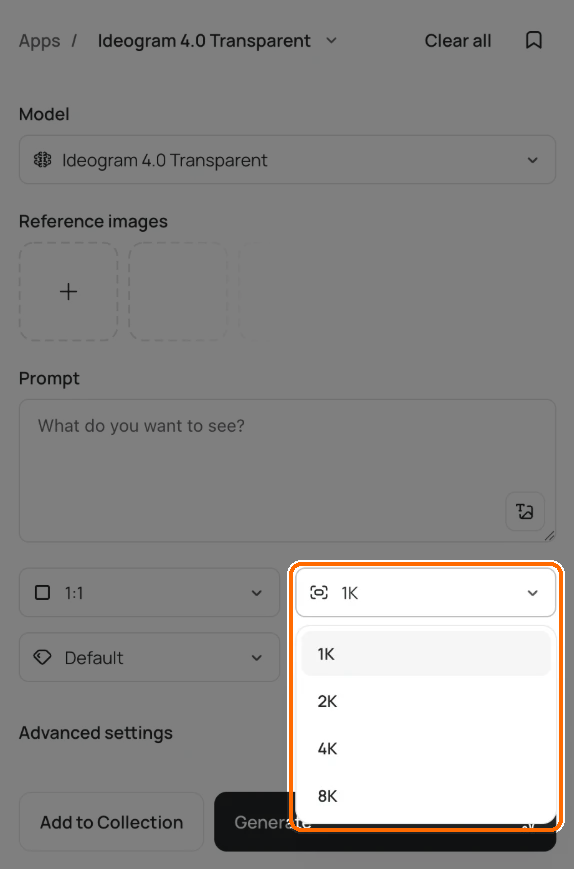
| Size | **Output resolution**: 1K, 2K, 4K or 8K. Above 2K, Ideogram upscales after it generates. | **Upscale factor** (under **Advanced settings**): 1x, 2x or 4x |
| Aspect ratio | Auto, plus 1:1 to 4:1 and the portrait versions | The Ideogram 3.0 list |
| Quality | Turbo, Default or Quality | Turbo, Default or Quality |
On Ideogram 4.0 Transparent, pick a size from 1K to 8K.
## Ideogram 4.5 Background setting
1. In the Image app's **Model** picker, choose **Ideogram 4.5**.
2. Open **Advanced settings**.
3. Set **Background** to **Transparent**.
4. Write your prompt and click **Generate**.
You can use this setting with or without [reference images](/create/reference-images.md). **Background** starts at **Auto**, which leaves the background choice to Ideogram. Choose **Opaque** when you want a filled background instead.
## GPT Image 2.5 Background setting
1. In the **Model** picker, choose GPT Image 2.5 Flare or GPT Image 2.5 Sunburst.
2. Open **Advanced settings**.
3. Set **Background** to **Transparent**. "Transparent keeps an alpha channel. Opaque fills the background in."
4. Click **Generate**.
**Background** starts at **Auto**, which lets the model decide. GPT Image 2.5 takes up to 16 [reference images](/create/reference-images.md), so use it when you need a transparent result built from your own images.
## Remove the background afterwards
1. Open any image.
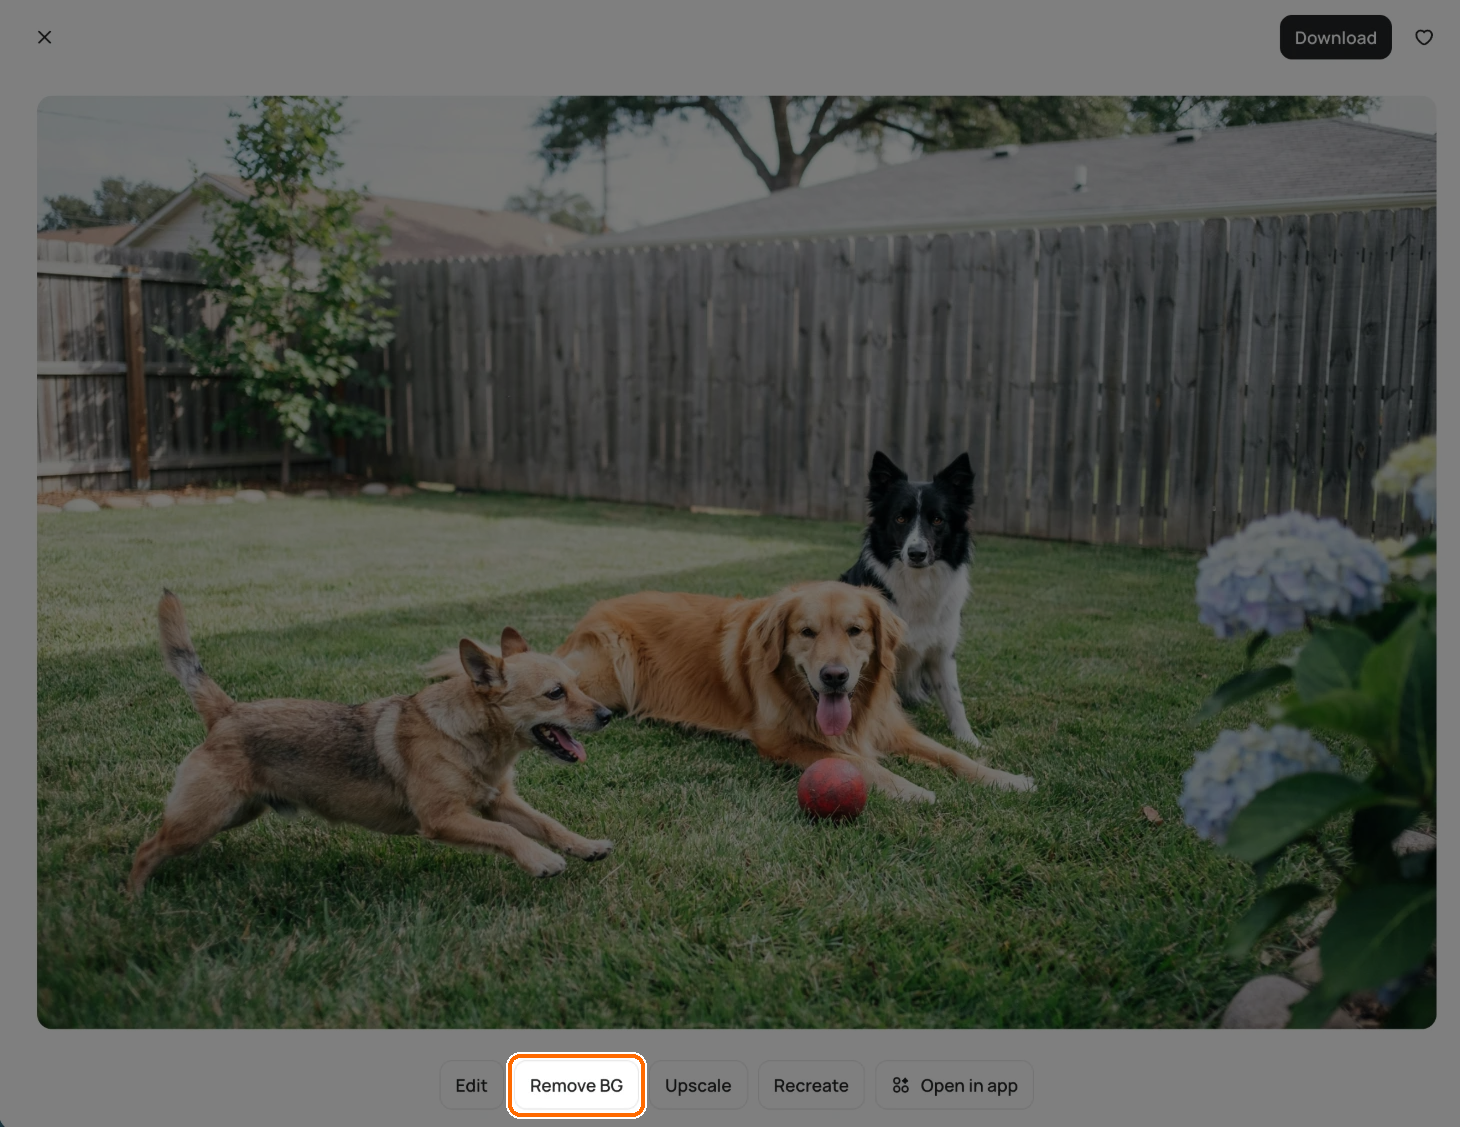
2. Click **Remove BG**.
Open the image and click Remove BG.
3. The Background Remover app opens with the image loaded. Check the cost, then select **Remove background** to run it.
You can also open the **Background Remover** app directly. This works on images you generated and images you uploaded.
## Download as PNG
1. Open the transparent image.
2. Click **Download**.
3. Choose **PNG** as the file type.
JPEG is turned off for these images because it can't keep transparency.
On a free plan you can download a transparent image as a 1K PNG. Larger sizes need a paid plan. See [Available Plans](/plans-and-billing/available-plans.md).
## Why does my PNG still have a background?
PNG supports transparency, but choosing PNG doesn't remove an opaque background. First generate with a Transparent model or **Background → Transparent**, or run **Remove BG**, then download that result. Asking for a white background creates a visible white area; it isn't the same as an alpha channel.
Some viewers display transparent pixels against white. Place the downloaded image over a colored background to check the cutout. A checkerboard that was drawn into the image is still visible image content, rather than transparent pixels.
## Generate transparency or remove the background?
Generate with transparency when you are making a new asset, such as a sticker or logo. Use **Remove BG** when you already have a subject you want to cut out. To place that cutout into a new design, see [background replacement and Studio layering](/edit/remove-backgrounds-and-objects.md#put-a-subject-on-a-new-background).
Increasing the download size changes the raster image's pixel dimensions. It doesn't convert a logo or illustration into editable vector paths.