> For the complete documentation index, see [llms.txt](https://docs.ideogram.ai/llms.txt). Markdown versions of documentation pages are available by appending `.md` to page URLs; this page is available as [Markdown](https://docs.ideogram.ai/edit/upscale.md).

# Upscale

Make an image larger and sharper with the Upscale app, on a Studio layer, or as you download.

Upscaling makes an image larger and adds detail so it stays sharp. You can do it in three places:

| Where                                          | Sizes                                       | Best when                                           |
| ---------------------------------------------- | ------------------------------------------- | --------------------------------------------------- |
| [Upscale app](#the-upscale-app)                | 2x, 4x or 8x, or 1K/2K/4K with Gemini 3 Pro | You want to choose the upscaler and its settings    |
| [Studio layer](#upscale-a-layer-in-studio)     | 2x, 4x or Ultra 8x                          | You are editing in Studio and need one layer larger |
| [Upscale & download](#upscale-as-you-download) | 1K, 2K, 4K or 8K                            | You just want a bigger file                         |

The Upscale app needs a paid plan or bought credits. The other two need a paid plan. Without a plan, [buy credits](/plans-and-billing/buying-extra-credits.md) and use the Upscale app.

The app's **Scale** multiplies each side: a 1,024-pixel-wide image at **4x** comes out 4,096 pixels wide, about 4K. The download menu names sizes by result (**4K**) instead. In the app and in Studio, no result can pass 8192×8192 pixels, so large images may not offer every size.

## The Upscale app

### Open it

* On an image page, click **Upscale**. The app opens with the image loaded.
* Open an image's **…** menu (in Assets, or an app's **My assets** tab) and choose **Upscale** under **Use**.
* Open **Apps** and search for Upscale. Under **Source image**, click **+ Add** to upload an image or choose one you already have.

### Steps

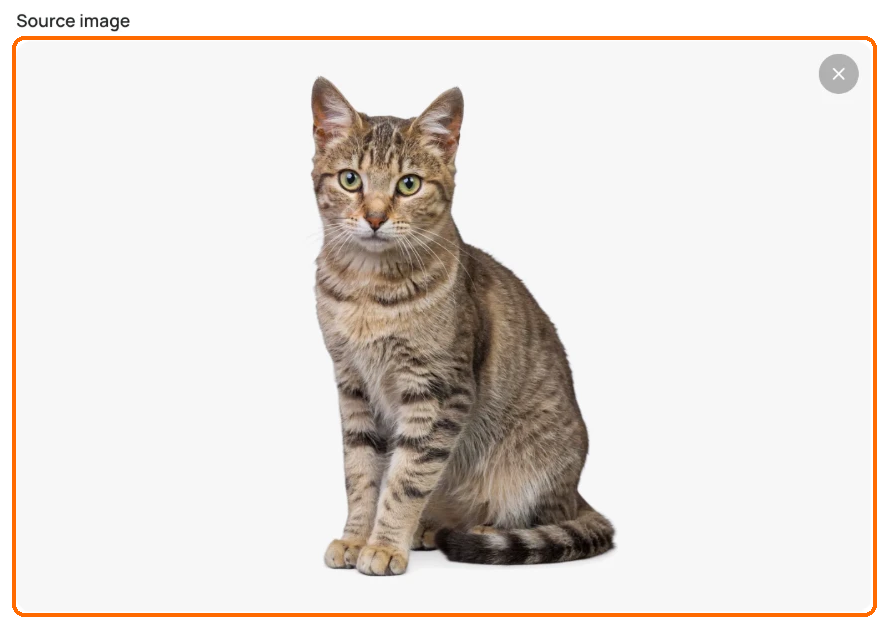
1. Check the **Source image**. If the box is empty, click **+ Add**.

   <figure><img src="https://1799634369-files.gitbook.io/~/files/v0/b/gitbook-x-prod.appspot.com/o/spaces%2FzjhNby3LLsIikYuvxAJP%2Fuploads%2Fgit-blob-b6b22c65ea1ca4678bba9861d09f0354cd336e02%2Fupscale-1.png?alt=media" alt="Upscale app with a cat photo in the highlighted Source image box."><figcaption><p>Make sure this is the image you want bigger.</p></figcaption></figure>
2. Pick an upscaler in the model picker, or leave it on **Auto**.

   <figure><img src="https://1799634369-files.gitbook.io/~/files/v0/b/gitbook-x-prod.appspot.com/o/spaces%2FzjhNby3LLsIikYuvxAJP%2Fuploads%2Fgit-blob-939d3e36ad3133f611da6b971fa22b1bd365cbc9%2Fupscale-2.png?alt=media" alt="Upscale Model picker, highlighted, set to Auto."><figcaption><p>Leave <strong>Model</strong> on <strong>Auto</strong>, or pick an upscaler.</p></figcaption></figure>
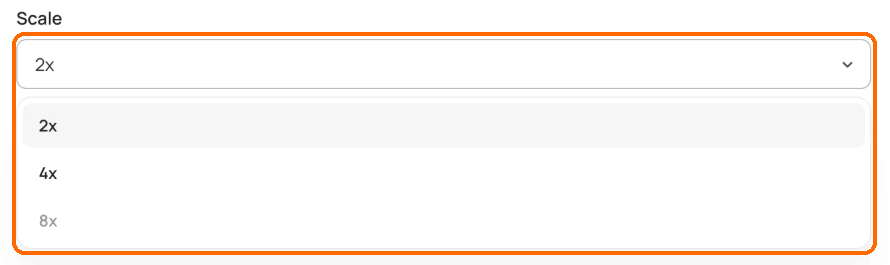
3. Set **Scale** to **2x**, **4x** or **8x** (default 2x).

   <figure><img src="https://1799634369-files.gitbook.io/~/files/v0/b/gitbook-x-prod.appspot.com/o/spaces%2FzjhNby3LLsIikYuvxAJP%2Fuploads%2Fgit-blob-22a0846522edc4fdcfb96d0ec6a651e9567a95c4%2Fupscale-3.png?alt=media" alt="Scale menu open and highlighted, listing 2x and 4x, with 8x greyed out."><figcaption><p>Pick a size. Sizes too big for this image are greyed out.</p></figcaption></figure>
4. Click **Upscale**. The button shows the cost first. See [how credits work](/plans-and-billing/available-plans.md#how-credits-work).

   <figure><img src="https://1799634369-files.gitbook.io/~/files/v0/b/gitbook-x-prod.appspot.com/o/spaces%2FzjhNby3LLsIikYuvxAJP%2Fuploads%2Fgit-blob-c4522890d8d386d927e9c9e0f6d5ef1de80731db%2Fupscale-4.png?alt=media" alt="Upscale button, highlighted, showing a cost of 50.33 credits."><figcaption><p>The button shows the cost before you click.</p></figcaption></figure>

Sizes past 8192×8192 are greyed out in **Scale**. Under the menu you'll see "Up to Nx for this image." If even 2x is too big, the app tells you the image can't be upscaled.

### Upscalers

With **Auto**, Ideogram picks the upscaler and you only see **Source image** and **Scale**. Pick a named upscaler when you want more control. The list today:

* Topaz Bloom 2
* Topaz Standard 2
* Topaz Redefine
* Topaz Text Refine
* Topaz Wonder 3.5
* Gemini 3 Pro

Each adds its own settings:

| Upscaler                               | Extra settings                                                                                                                                                               |
| -------------------------------------- | ---------------------------------------------------------------------------------------------------------------------------------------------------------------------------- |
| Topaz Bloom 2                          | **Creativity** ("Low stays faithful; high invents detail."), **Prompt**, **Keep colors**                                                                                     |
| Topaz Redefine                         | **Creativity** (1 to 9), **Prompt**, **Auto prompt**, **Texture** (1 to 5), **Detail pass** with **Detail strength**, plus face, sharpen and denoise controls                |
| Topaz Standard 2 and Topaz Text Refine | **Strength** (Auto lets Topaz judge each image), face enhancement, **Sharpen**, **Denoise**, **Fix compression** ("Removes JPEG blockiness and banding."), subject detection |
| Topaz Wonder 3.5                       | **Enhancement strength**: Low, Medium or High                                                                                                                                |
| Gemini 3 Pro                           | **Resolution** 1K, 2K or 4K in place of **Scale**, and a **Prompt**. Only sizes larger than your image can be picked.                                                        |

To keep text in an image crisp, try Topaz Text Refine. To have the upscaler invent fine detail, raise **Creativity** on Topaz Bloom 2 or Topaz Redefine.

## Upscale a layer in Studio

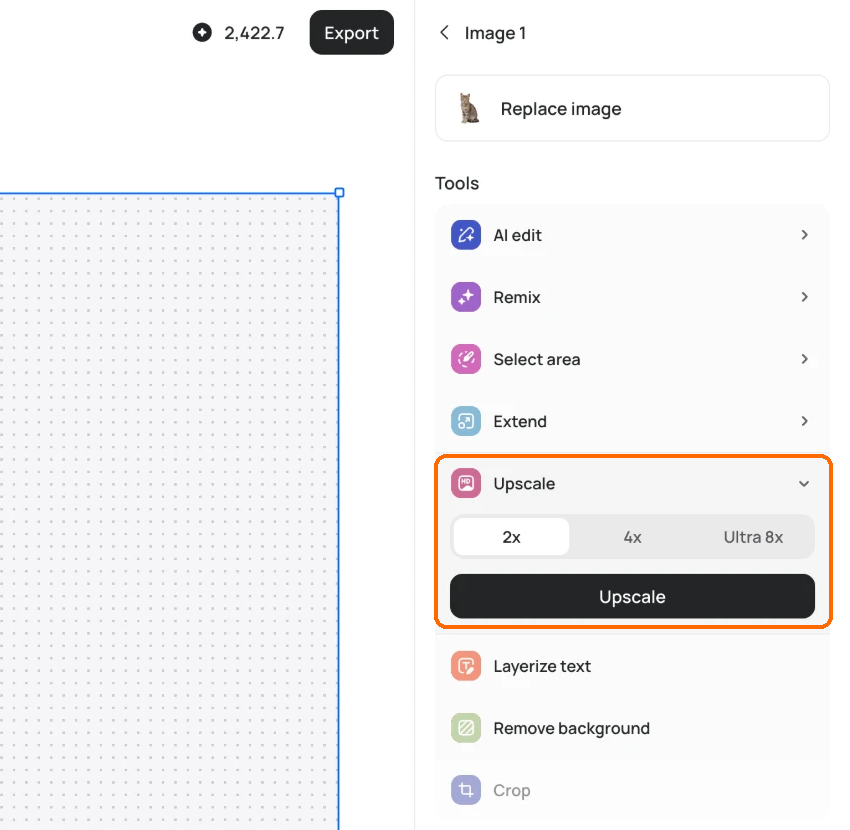
In [Studio](/edit/studio.md), select an image layer and choose **Upscale** under **Tools** in the right sidebar. Pick **2x**, **4x** or **Ultra 8x** (default 2x). The layer changes in place, so you can keep editing at the larger size. Sizes that would pass 8192×8192 are greyed out.

This needs a paid plan.

<figure><img src="https://1799634369-files.gitbook.io/~/files/v0/b/gitbook-x-prod.appspot.com/o/spaces%2FzjhNby3LLsIikYuvxAJP%2Fuploads%2Fgit-blob-5dea8f0865ccb28e3061a56a329cd86dedfe0a51%2Fupscale-5.png?alt=media" alt="Studio right sidebar for a selected image layer, with the Upscale tool highlighted and open on 2x, 4x and Ultra 8x above the Upscale button."><figcaption><p>Select a layer, open <strong>Upscale</strong>, pick a size and click <strong>Upscale</strong>.</p></figcaption></figure>

## Upscale as you download

1. On an image page, click Download. In Studio, click **Export**.
2. Under **Size**, pick a size tagged "(Upscale)". Sizes tagged "(Original size)" need no upscale.
3. The button changes to **Upscale & download** and shows the cost. Click it.

If the button says **Subscribe to download**, that size needs a paid plan. For file types and the rest of the menu, see [Downloading images](/organize-and-share/download.md).